
Using different bullet journal fonts and headers are the perfect way to decorate your journal – even if you have no artistic talent! By mixing up your fonts, you get to experience your planner as a creative outlet as well as a productivity tool. You also can save a ton of time using bullet journal fonts versus drawing elaborate layouts, while still creating a bullet journal worthy of Instagram!
Here are 12 Bullet Journal Fonts that anyone can master. Even if you normally have bad handwriting, these fonts can take your bullet journal from zero to hero in no time!
How to Draw Easy and Beautiful Bullet Journal Fonts
Creating bullet journal fonts you can be proud of is easier than you think. Here’s a step by step guide to all those beautiful headers you see crowding up your Instagram feed. Don’t worry – your bullet journal will be a work of art in no time!
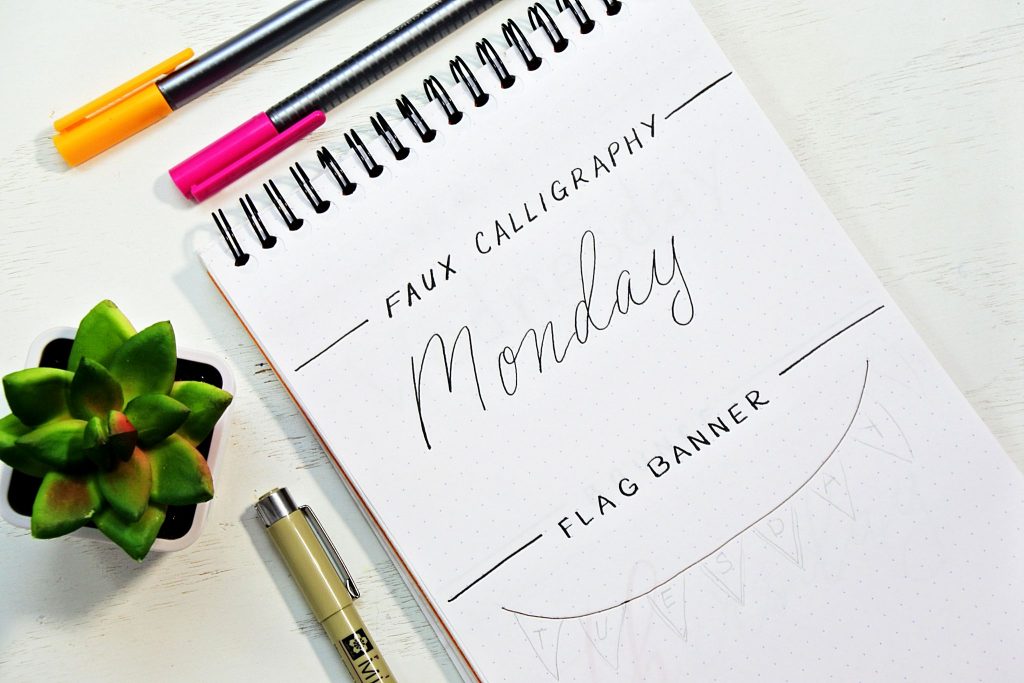
Faux Calligraphy
Faux Calligraphy is a great way to dip your toe into the hand lettering world. Even if you’ve never tried hand lettering before, faux calligraphy can give you those posh results without a single practice sheet! And it’s so simple to create!
You don’t need any special pens, any pen you are comfortable with will do.
Step 1. Write out your word in your nicest cursive handwriting. Don’t worry if it’s not perfect.
Step 2. Next, draw a line along the outside of every downstroke. ( Downstrokes are the part of the letter that you move your hand down to draw – like the tail of a lowercase y, g, etc. )
Step 3. And finally, color it in! You can use the same color as your word for seamless faux calligraphy – or use a different color for a creative twist!

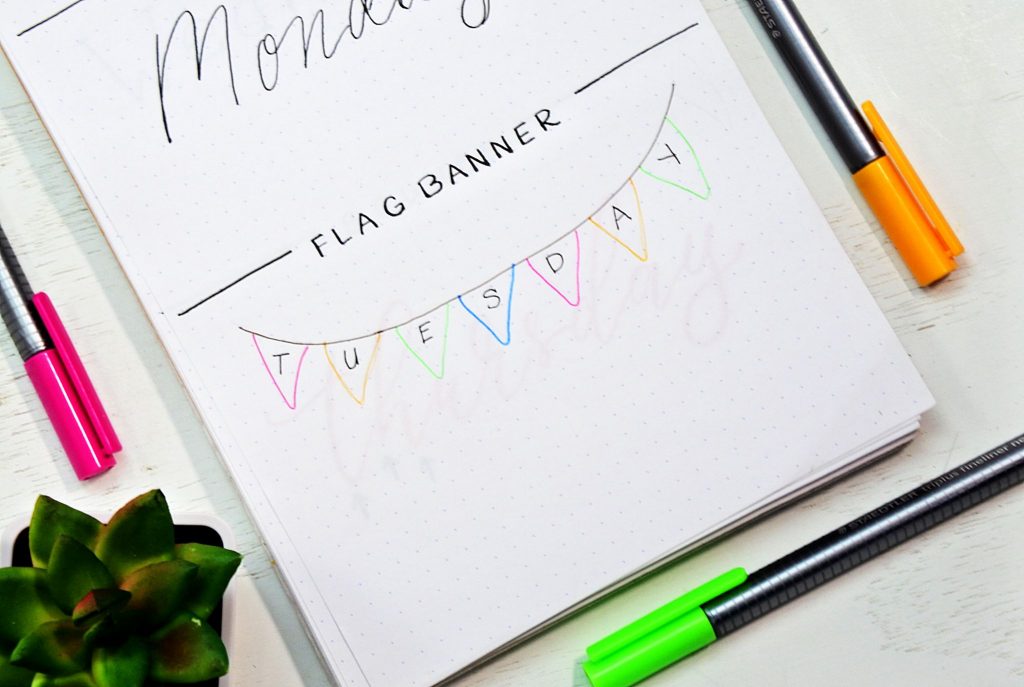
Banner Fonts
Banner bullet journal fonts are a super cute way to add some flair to your to-do list! And you don’t have to be good at doodling to create them!
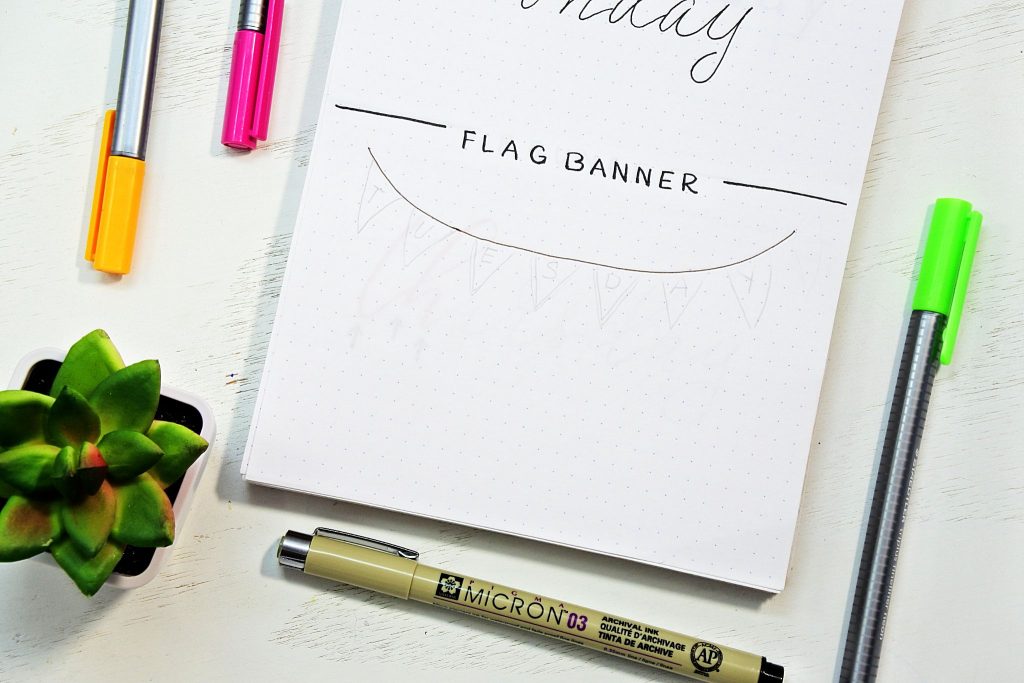
Step 1. Draw a line across the page. ( It can be straight or curved, whichever you prefer. )
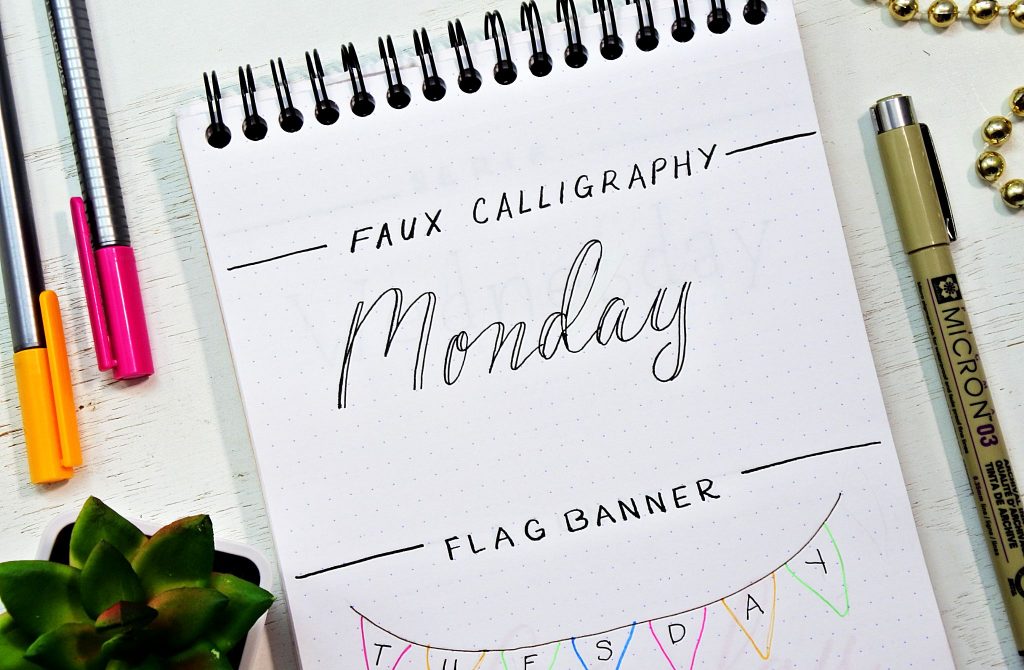
Step 2. Draw medium sized upside down triangles along the line. Draw one triangle for each letter of your word. ( You could also draw squares if you prefer.)
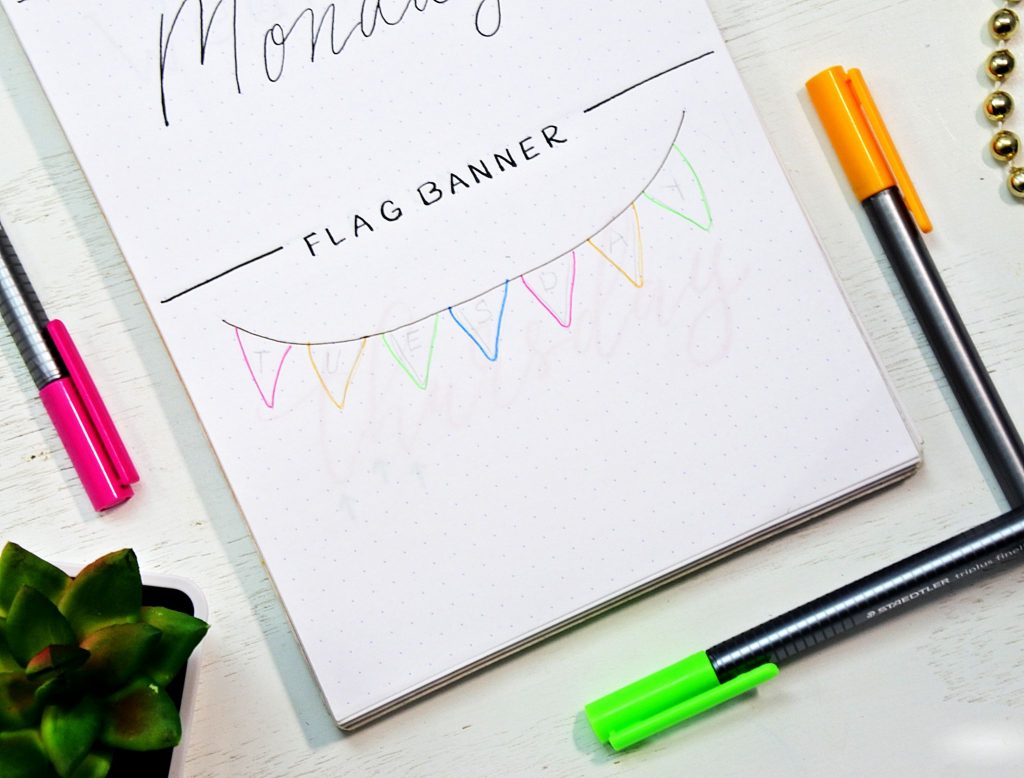
Step 3 – Write 1 letter in each triangle in your standard handwriting. Color it in if you feel like it. DONE!
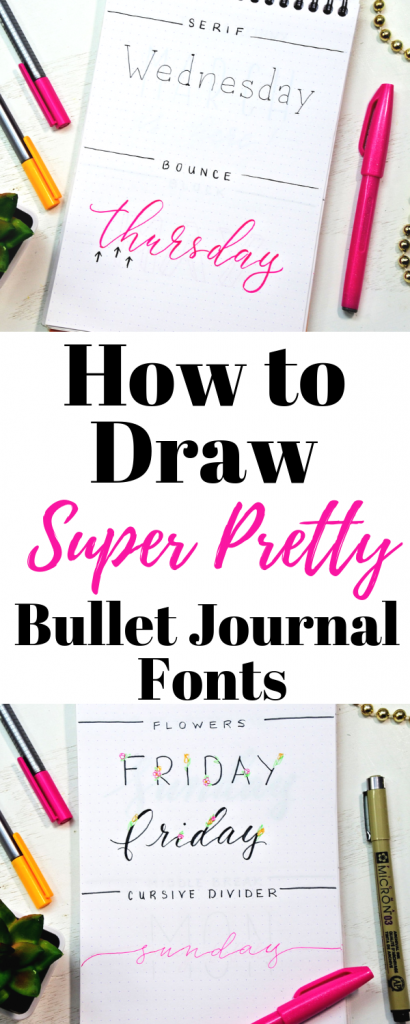
Serif
Or as I like to call it – the typewriter font. Serifed fonts are a great way to give your headers some authority. And of course, they are quick and easy to accomplish!
Step 1 – Write out your word carefully, keeping your lines as straight as you can, and your curves slightly blocky. I like to use an old fashioned lowercase “a” to give it some style.
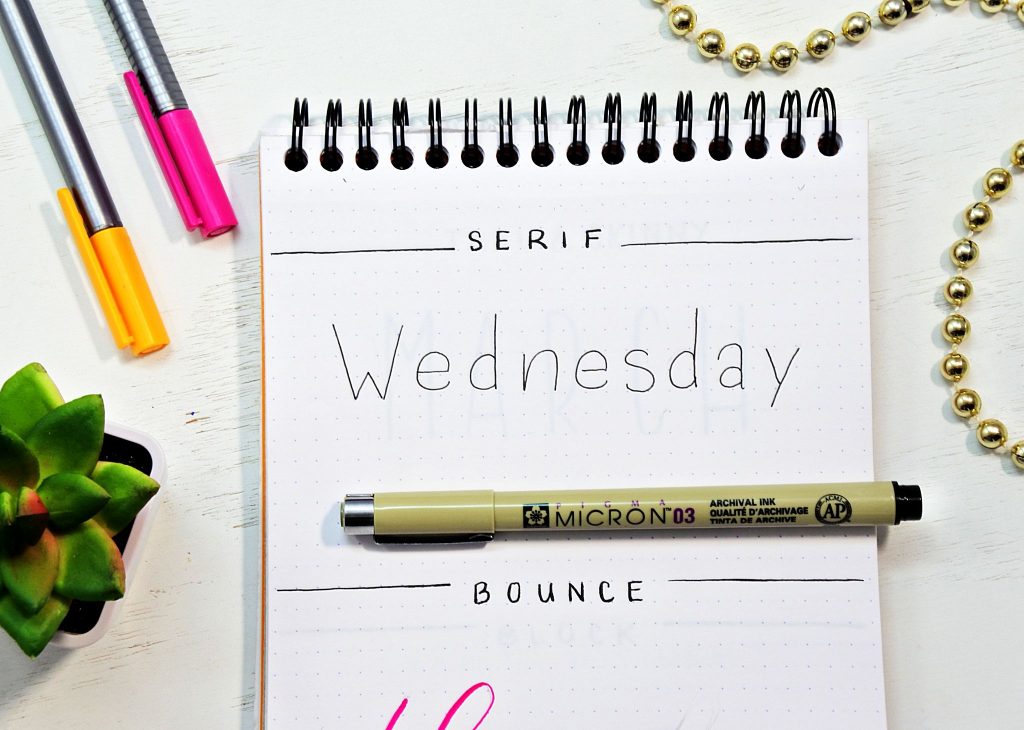
Step 2 – Add small lines to tops and bottoms of your straight lines. These are called ” serifs “.
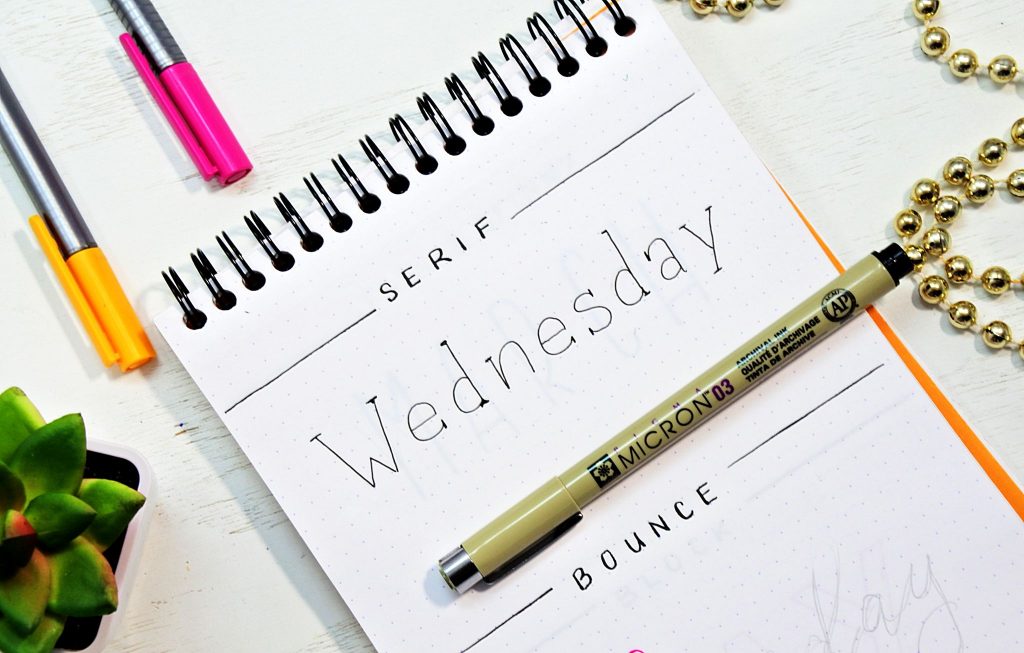
DONE!
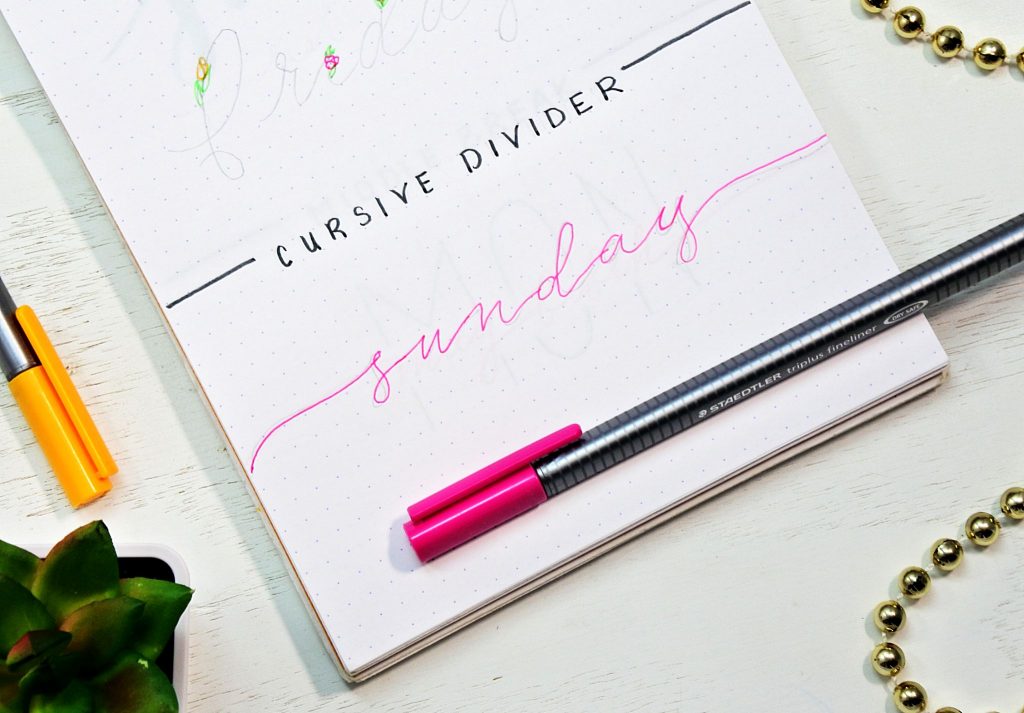
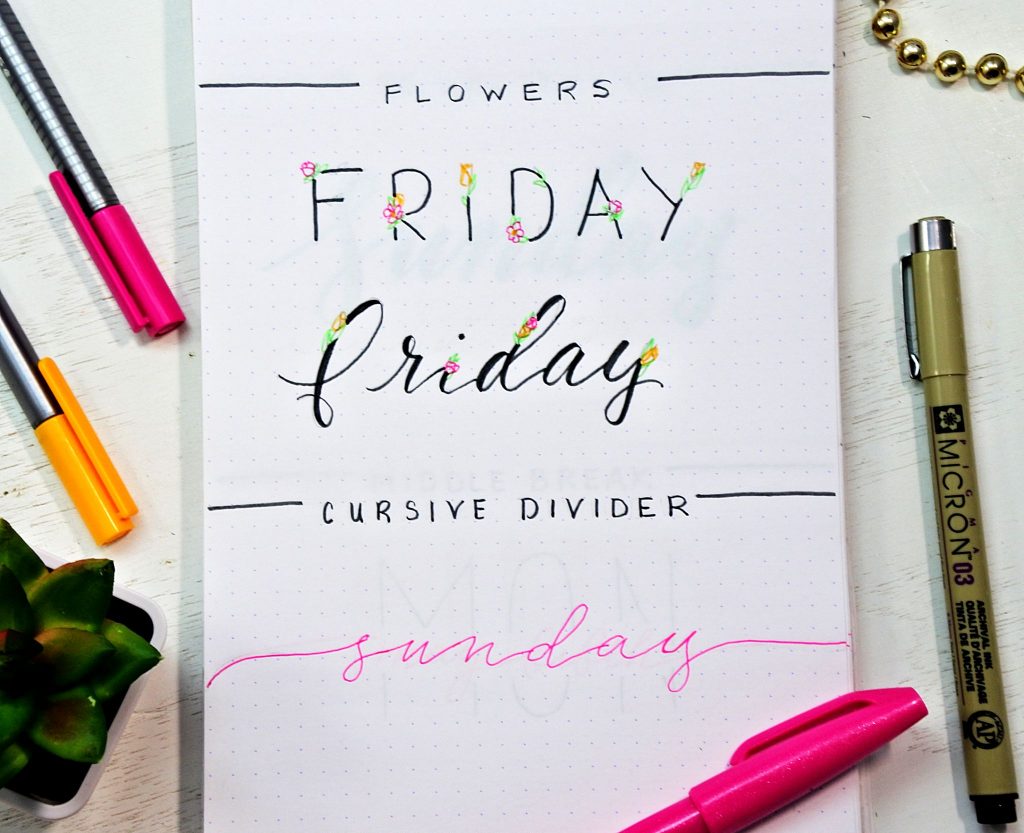
Cursive Divider
This is one of my favorite bullet journal fonts! It’s quick and easy but adds some feminine flair to every page!
Step 1 – Starting at the very edge of the page, begin to draw a curvy, swoopy line across. If your word begins with an upstroke (like an f) curve your line up – if it begins with a downstroke (like an m) curve your line downwards.
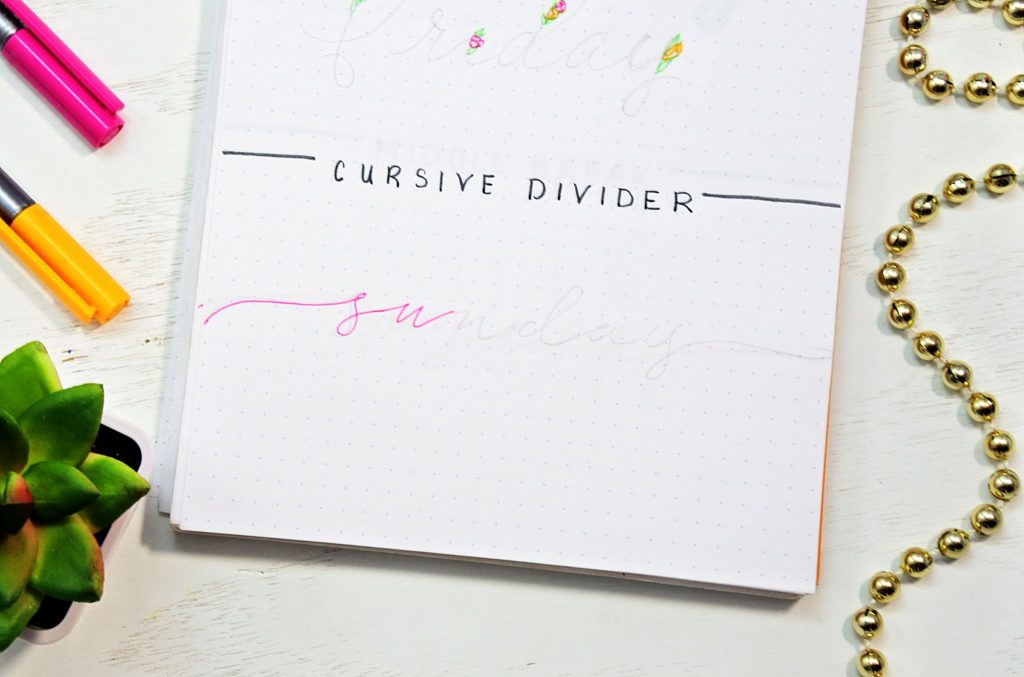
Step 2 – towards the middle of the page begin writing your word in cursive without breaking the line. Keep it continuous. At the end of your word, continue the line all the way to the end of the page, creating a divider.
DONE!
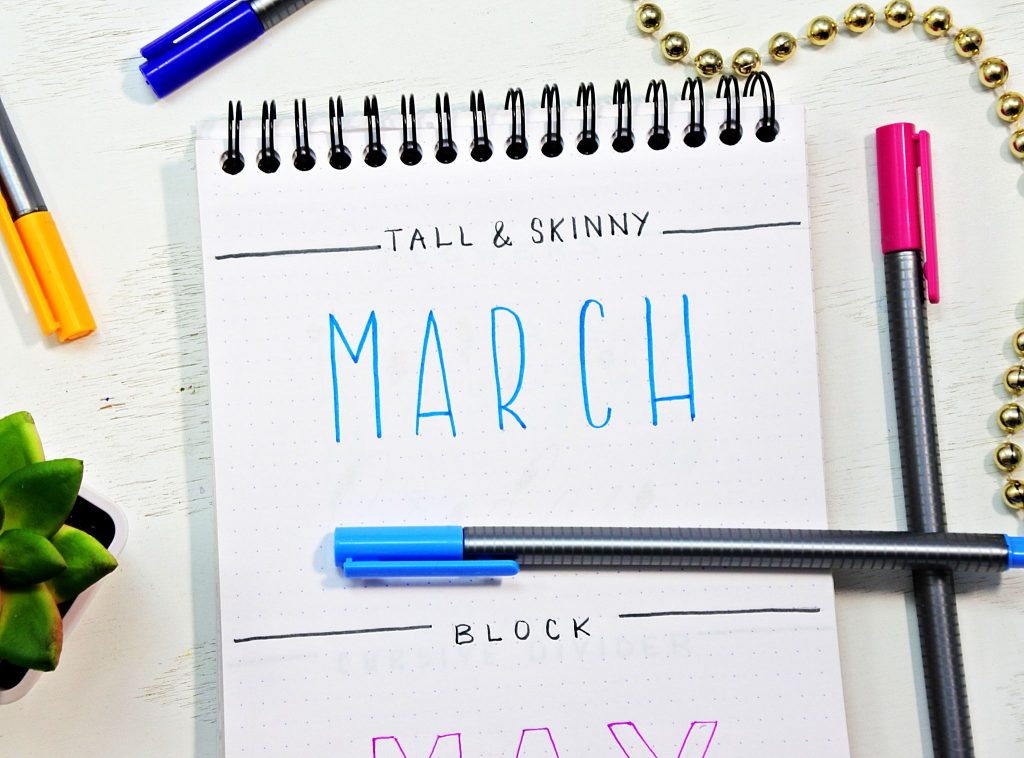
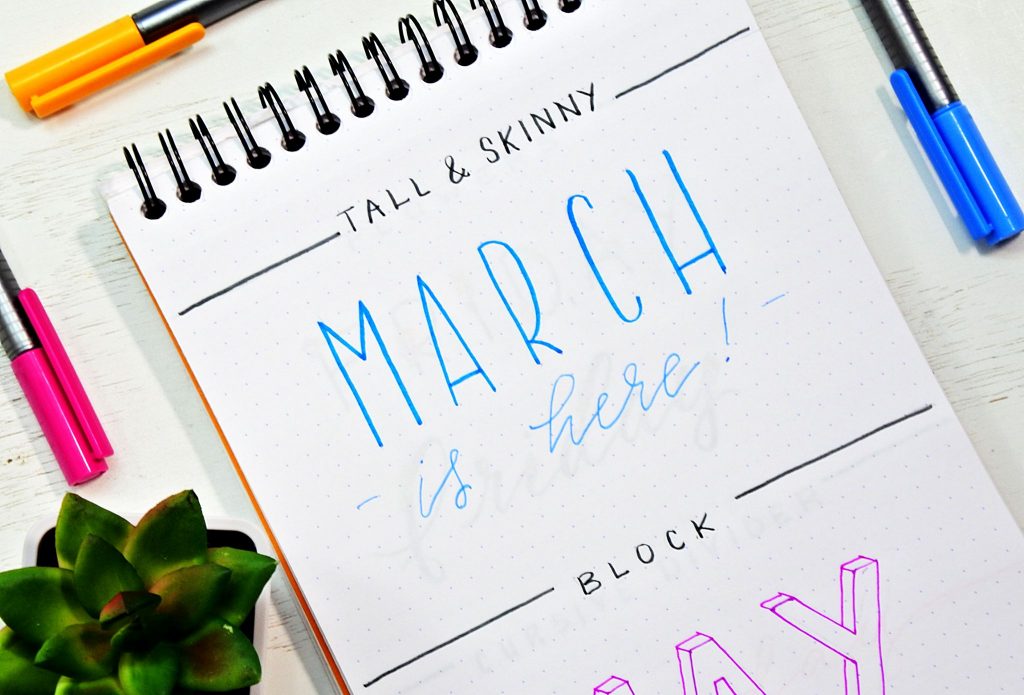
Tall and Skinny
This is one of the easiest bullet journal fonts to create! No talent required!
*Pro tip: I would recommend using a dot grid paper for this font. Following the grid will help keep your lines straight without the use of a ruler.
Step 1: Draw each letter carefully and make all your downlines tall. I would recommend using at least 3 squares of your dot grid for maximum impact. Any curves such as in an “o” or an “s” keep skinny and long.
Done!
*pro tip: This font looks great in when combined with a cursive font! Try putting them together!
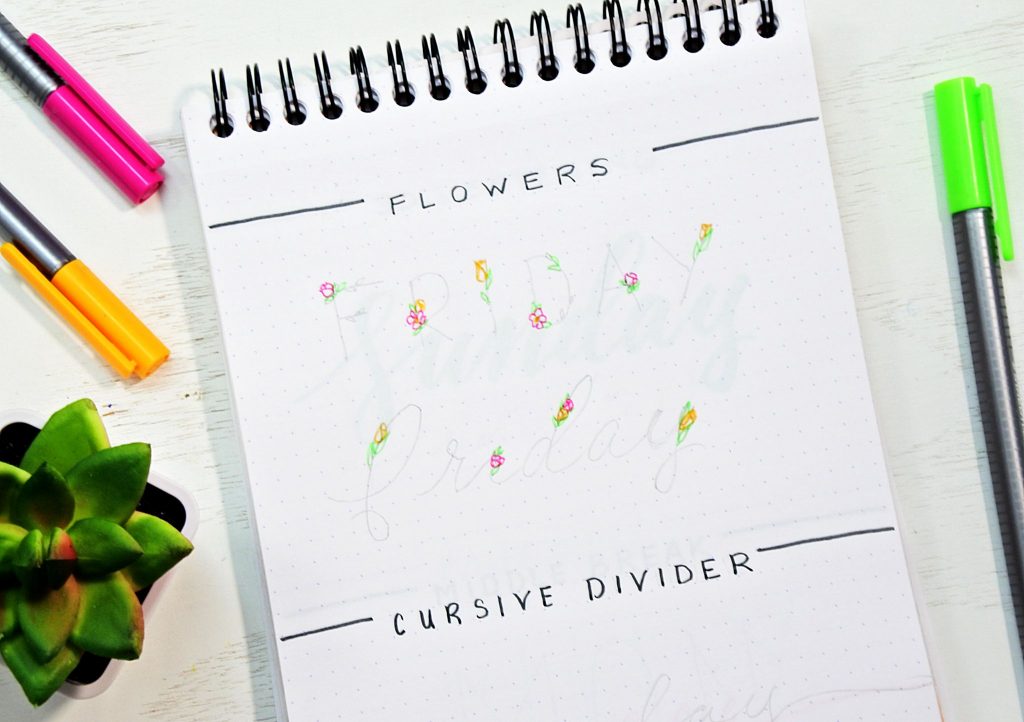
Floral
This bullet journal font can be modified for either cursive or block letters.
Step 1 – Using a pencil, write out your word in your best handwriting, making sure to add a little extra space between each letter. You can use a block or a cursive font, whichever you prefer.
Step 2 – In the corners of each letter, draw tiny flowers or leaves. You don’t have to have any artistic talent. Even the most basic flower or leaf will look so pretty when you’re done.
Step 3 – Color in the flowers first using any pens you prefer.
Step 4 – Now trace the lines of your letters using your favorite pen.
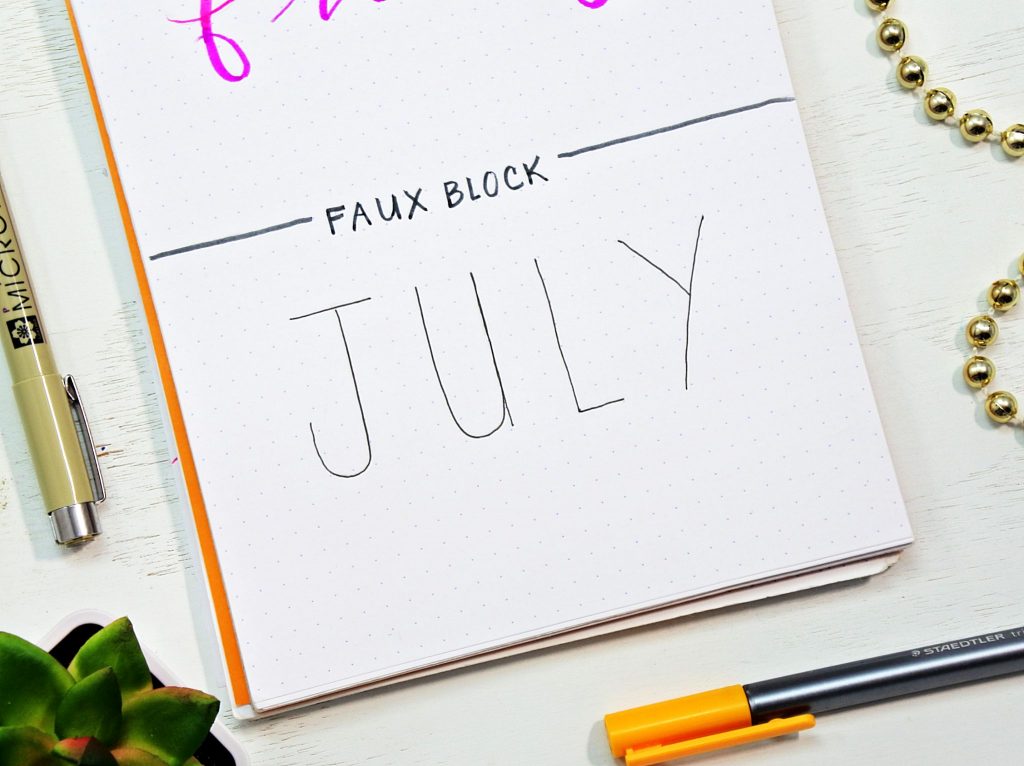
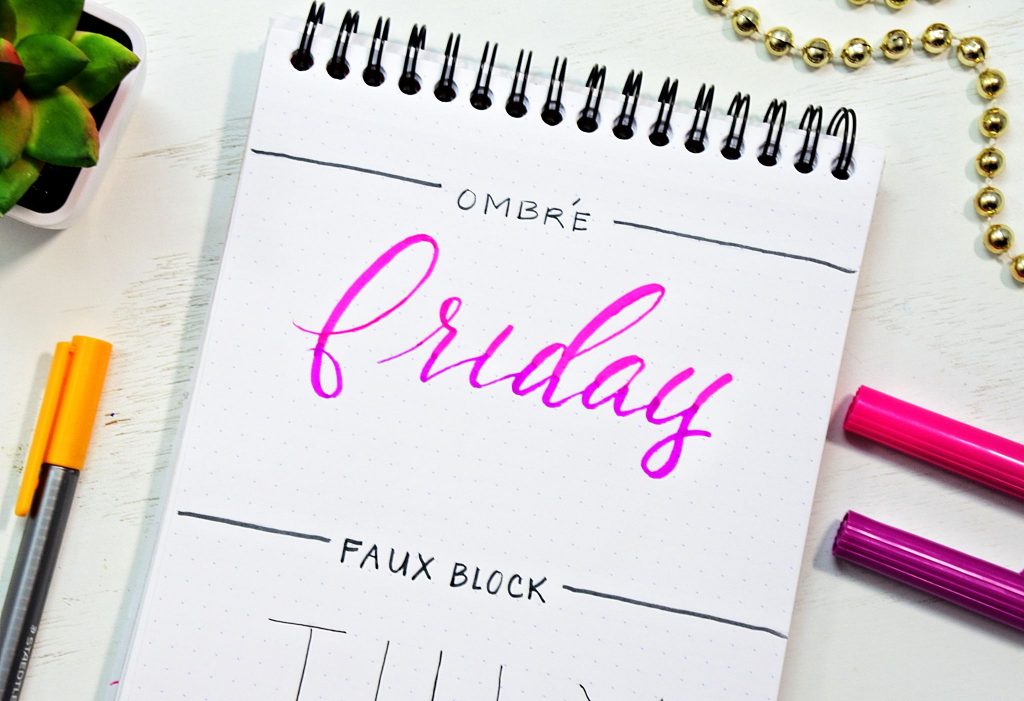
Faux Block Shaded
The Faux Block is one of the easiest bullet journal fonts to learn! And it can really add some great color to your journal!
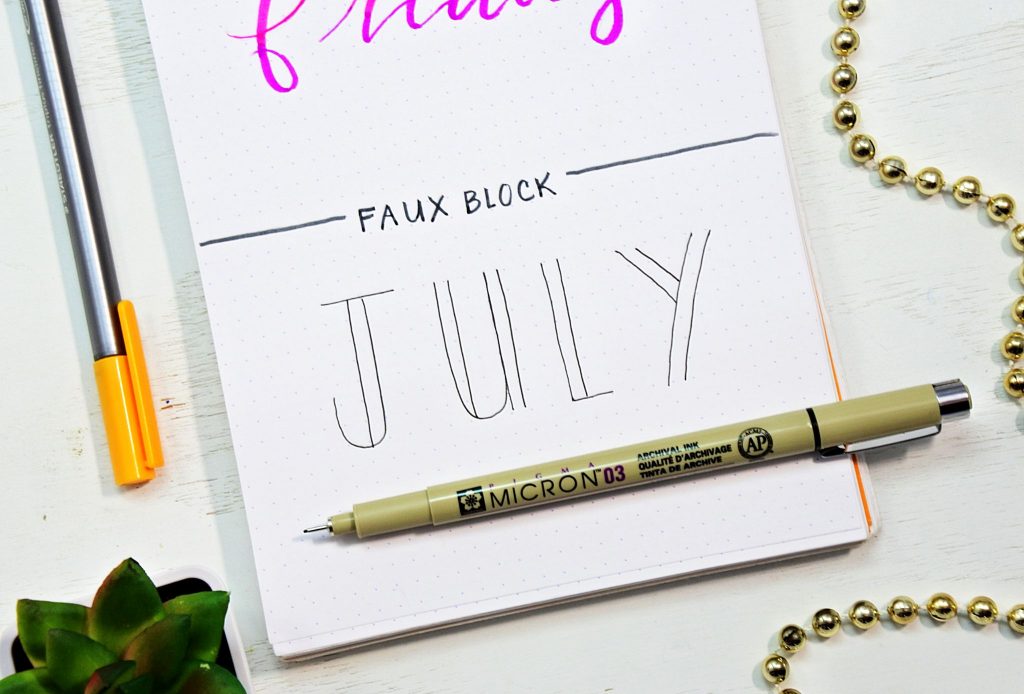
Step 1 – Draw out your word with simple clean lines. Leave a little space between each letter.
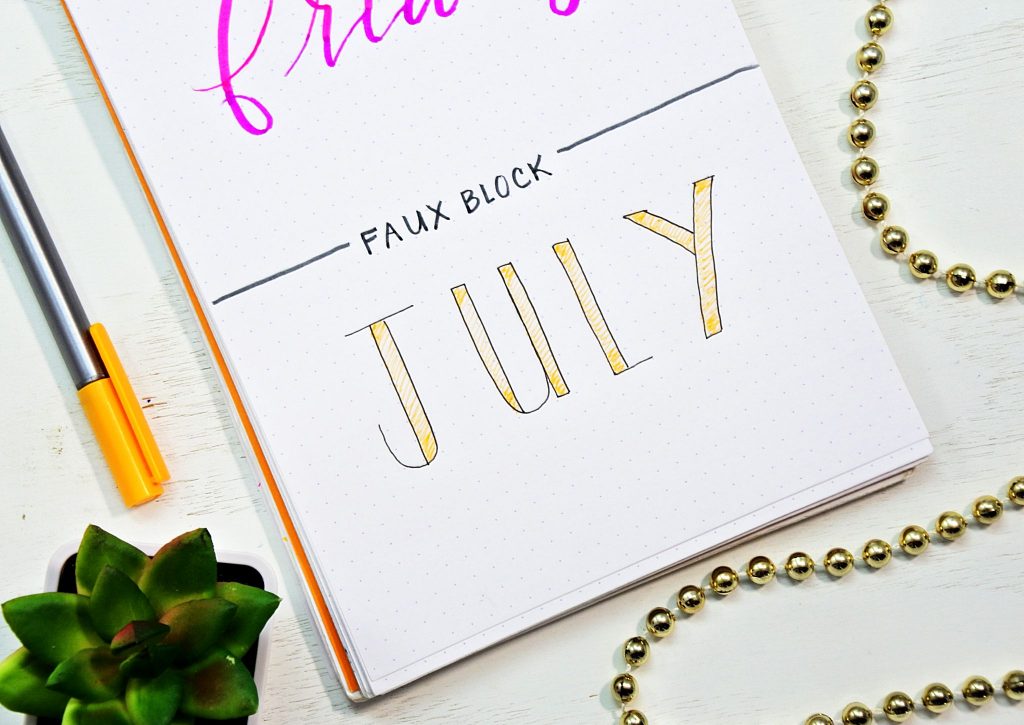
Step 2 – Just like in faux calligraphy, draw a line along the outside of every downstoke.
Step 3 – Connect any open space and color it in with the color of your choice!
3D Lettering
This is the most advanced bullet journal font on the list. But once it’s mastered it makes for some truly beautiful headers!
Supplies Needed:
- A Brush pen – any color
- A White Pen – I like to use GellyRolls
- A Light Grey pen or marker
- A Thin Black Pen
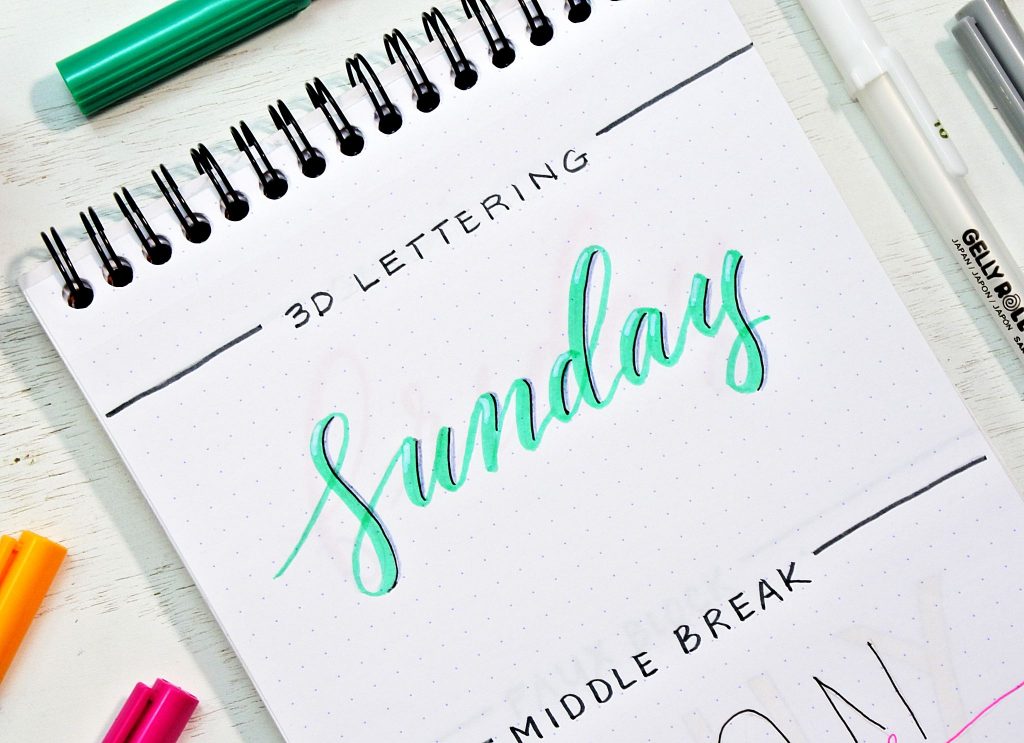
1. Draw out your word in your favorite hand lettering style. Make sure that your downstrokes are thick.
2. Take your black pen and trace along the right side of every downline.
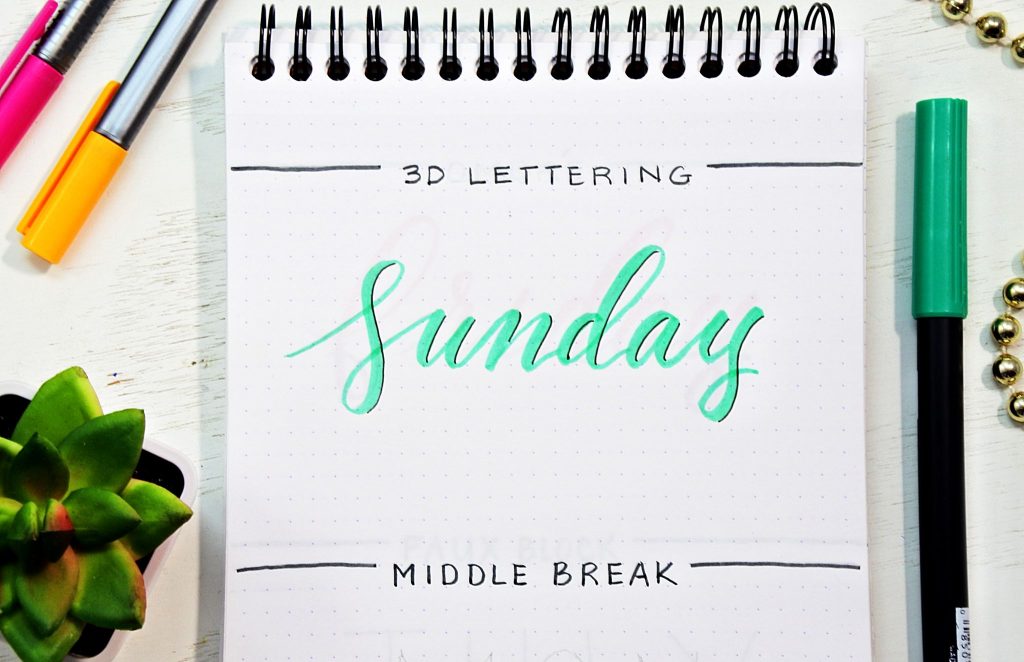
3. Using your grey pen, add a little shadow next to every black line.
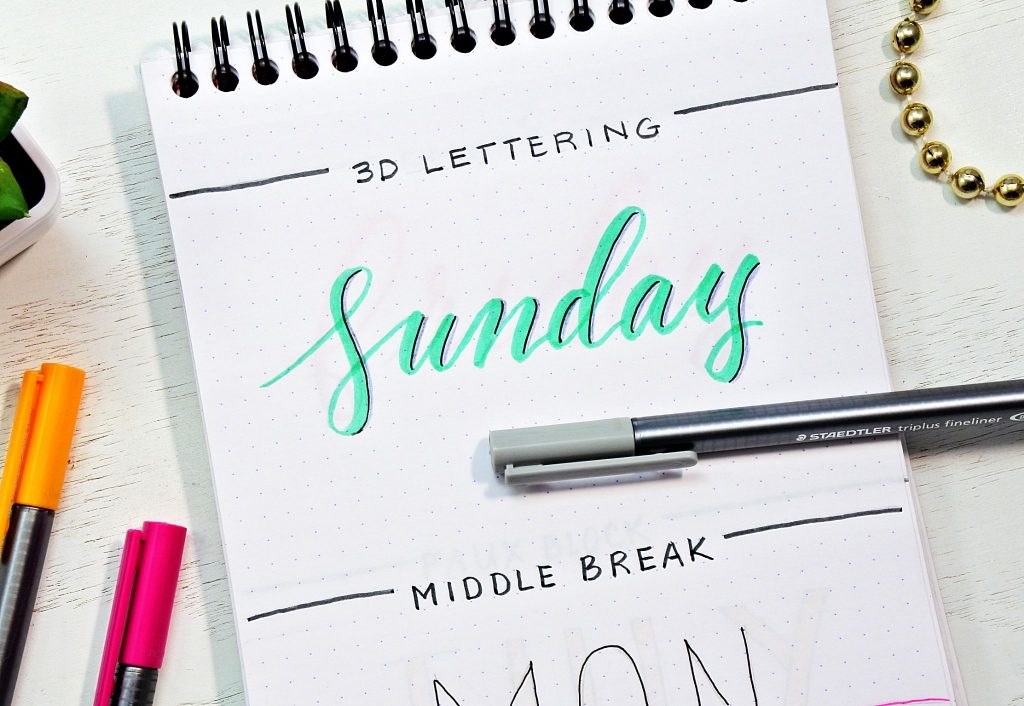
4. With your white pen, draw short little lines along in the top left corners of each letter.
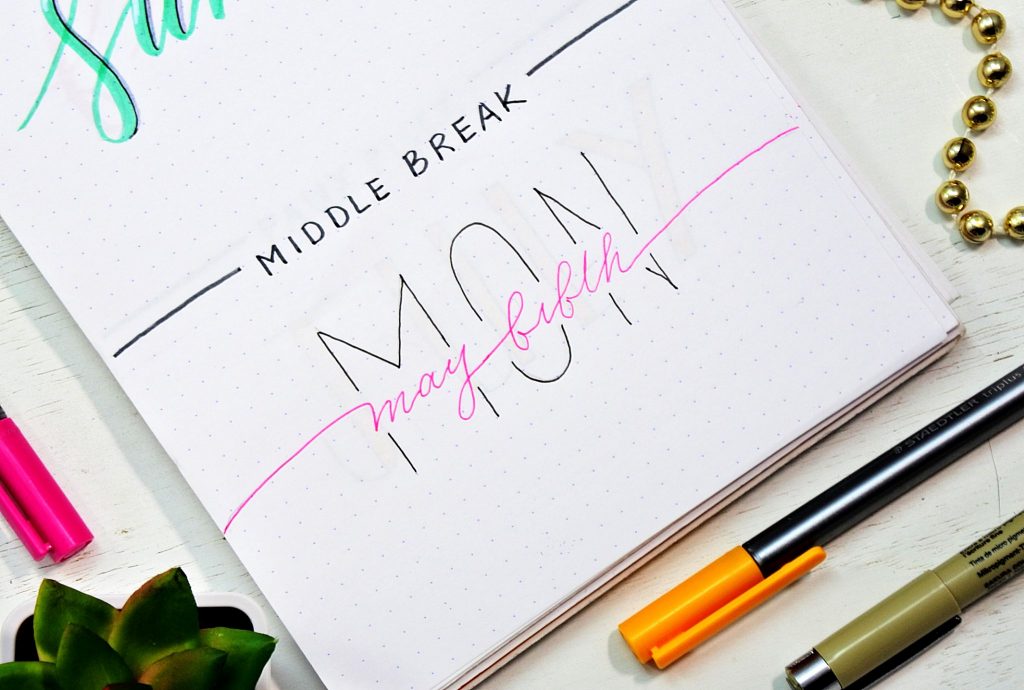
All Cap Background/ Cursive Forefront
Another favorite of mine that is super easy to do but makes a big impact! Mixing up your colors makes this bullet journal font really pop!
Step 1 – First, take your pencil and write out the first three letters of your background word. Keep the letters all uppercase and use big straight lines. Make sure it is centered in the middle of the page.
Step 2 – Next, erase horizontally thru the middle of the word.
Step 3 – Starting at the edge of the page draw a swoopy line toward the word. When you get close to the first letter begin writing your second word in cursive. write the cursive word thru the erased center of your background word. Continue to the end of the page.
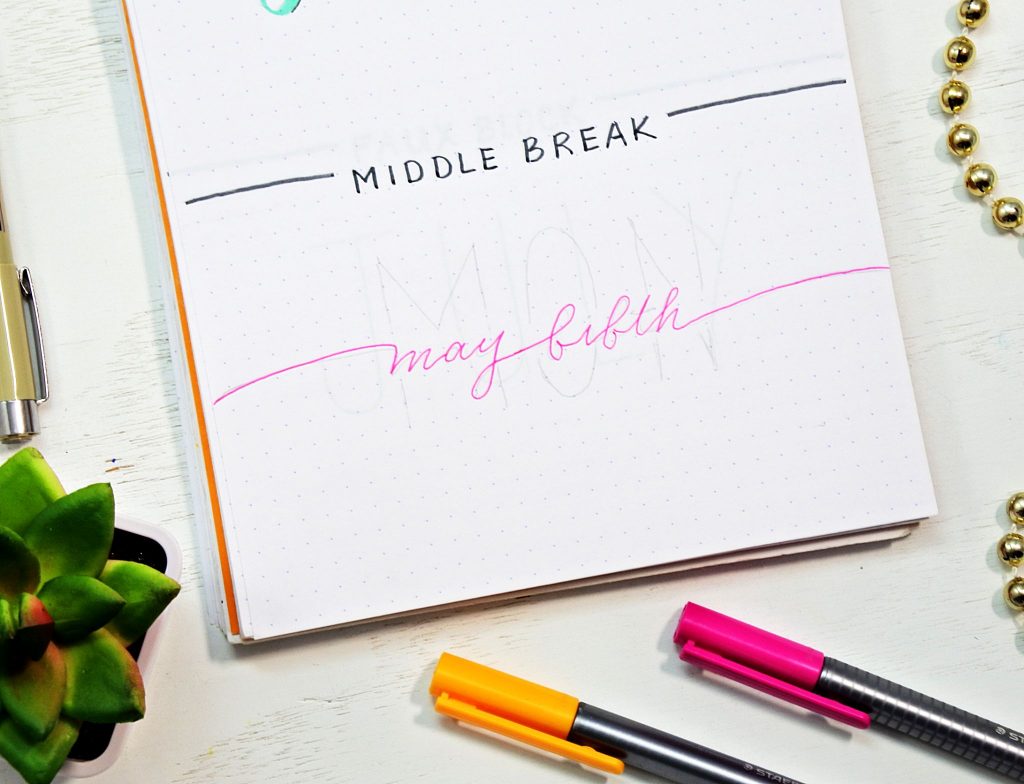
Step 4 – Trace you pencil lines of your background word in pen – any color or thickness that you prefer.
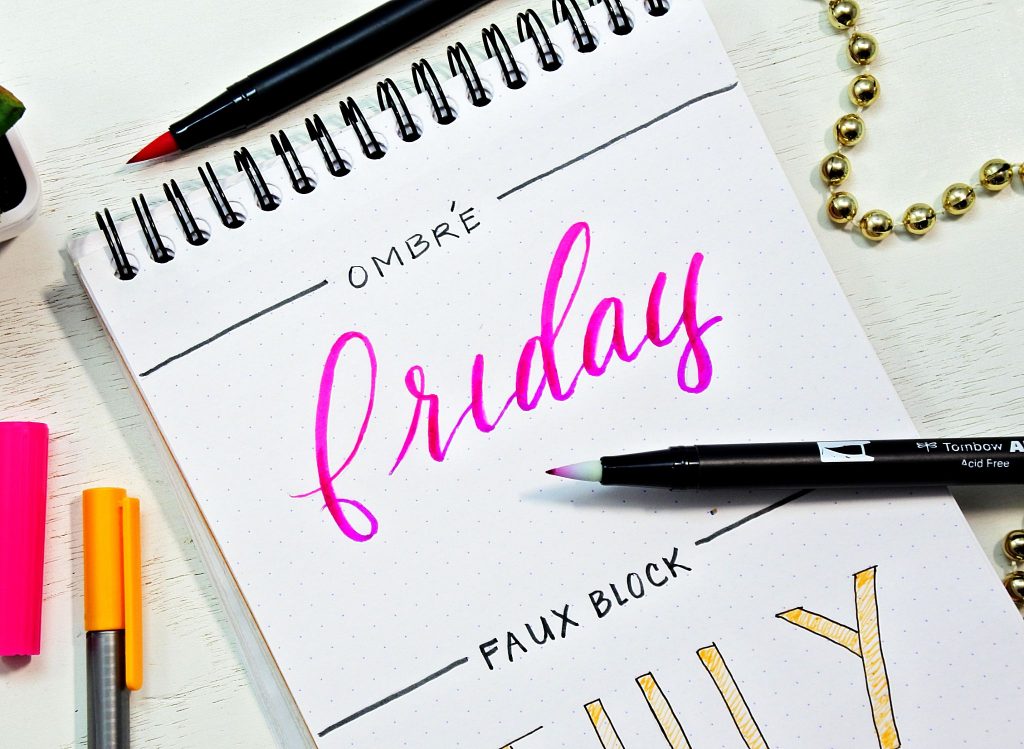
Ombre
This is another beautiful bullet journal font that really jumps off the page. For this font you’ll need water based brush pens that can blend. I recommend using Tombow Dual Brush pens as each set comes with a Blending Brush Pen.
Step 1 – Choose two colors that go well together.
Step 2 – Draw out your word in pencil in your nicest handwriting. You can use block letters or cursive, but I think the cursive looks extra nice!
Step 3 – Trace the top half of each word in one color. Trace the bottom half of each word in the second color.
Step 4 – Take your blender brush and run it lightly back and forth where the colors meet. They should blend together easily!
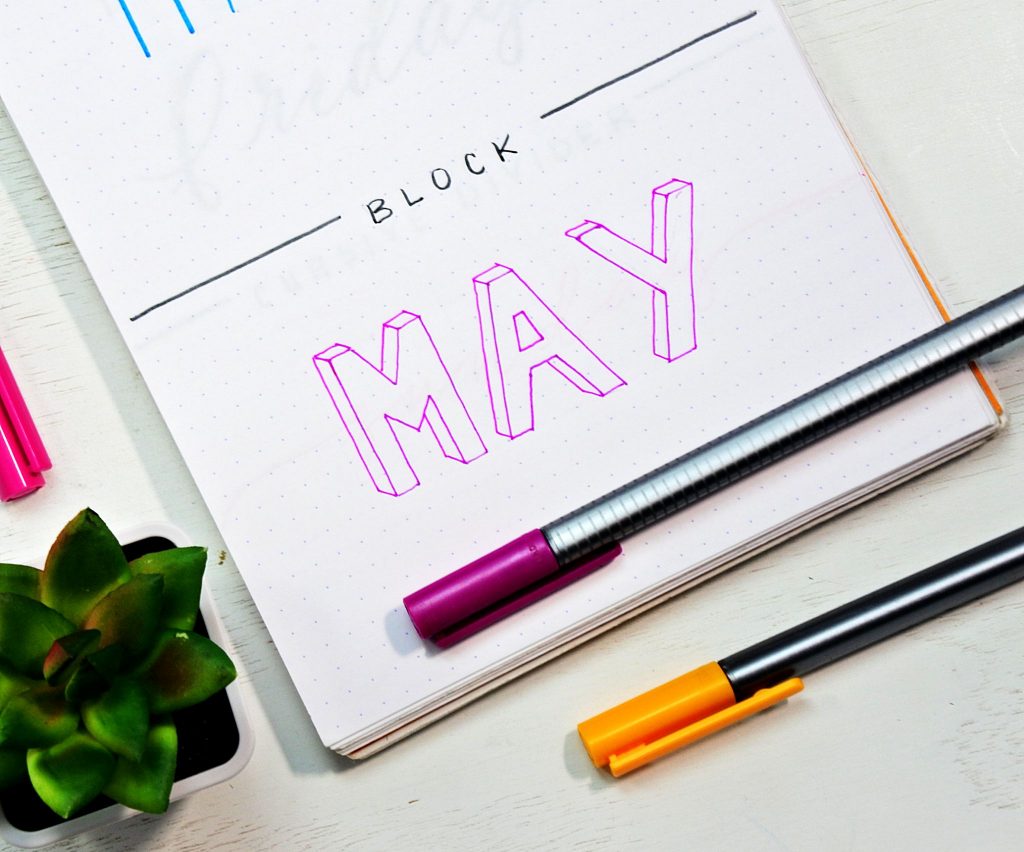
3D Block
This font will really pop off the page!
1. Draw out your block letters. Also, use your dot grid to keep your lines straight and all the same thickness.
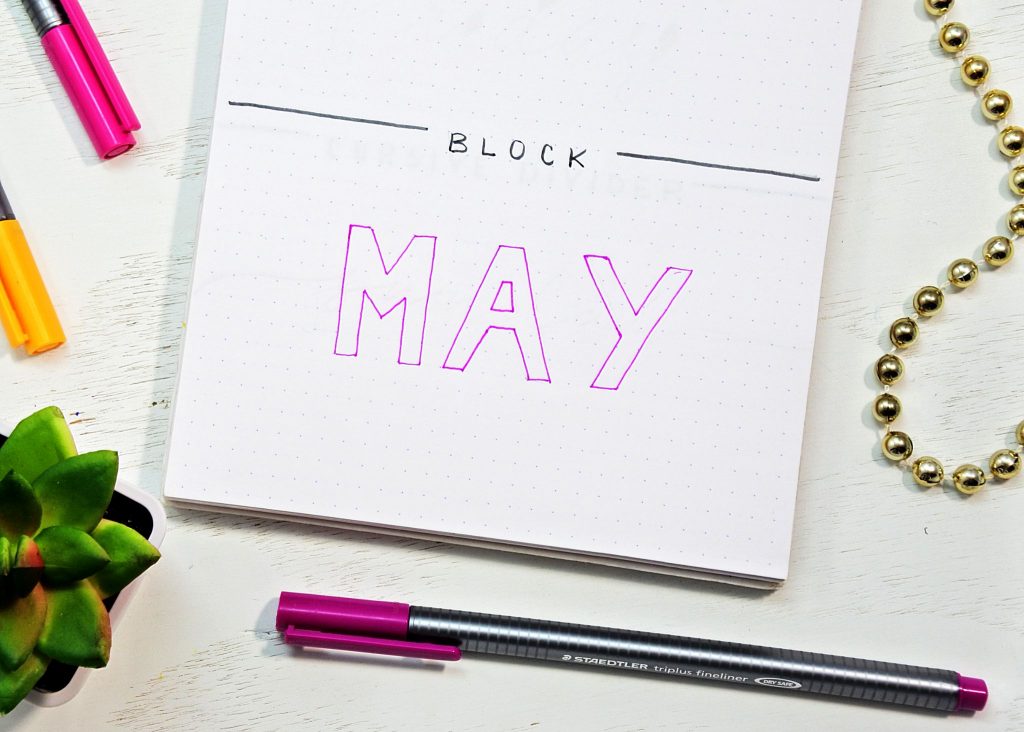
2. At each top and bottom corner, draw a short slanted line down. Again, use your dot grid to guide you so that each line is the same size!
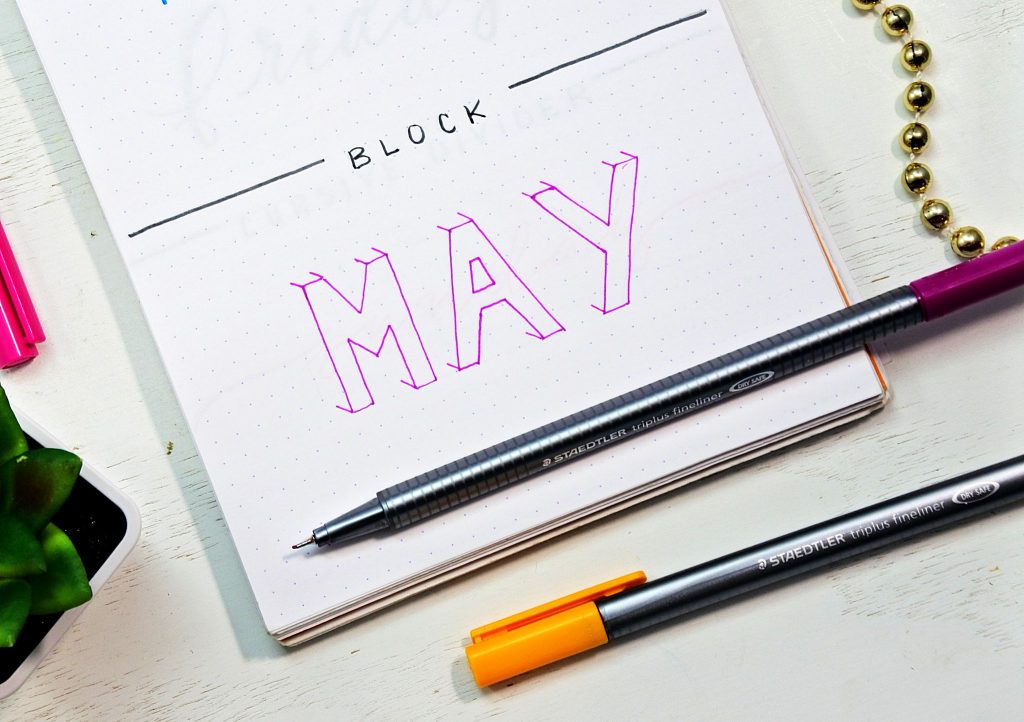
3. Finally, connect each slanted line. You could also color it in if you want for even more pop!
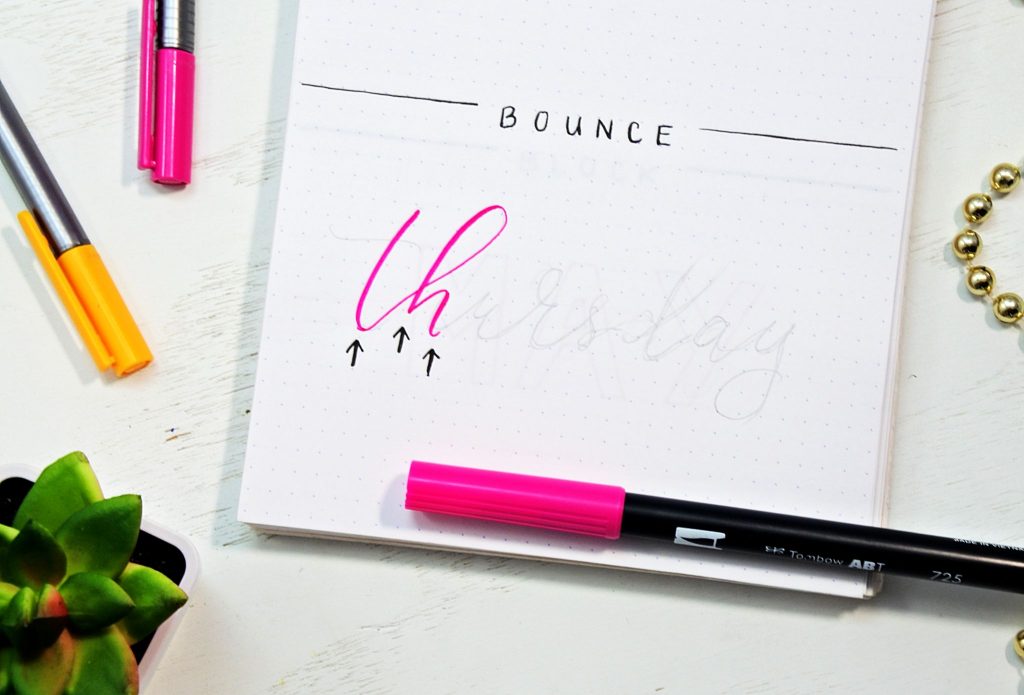
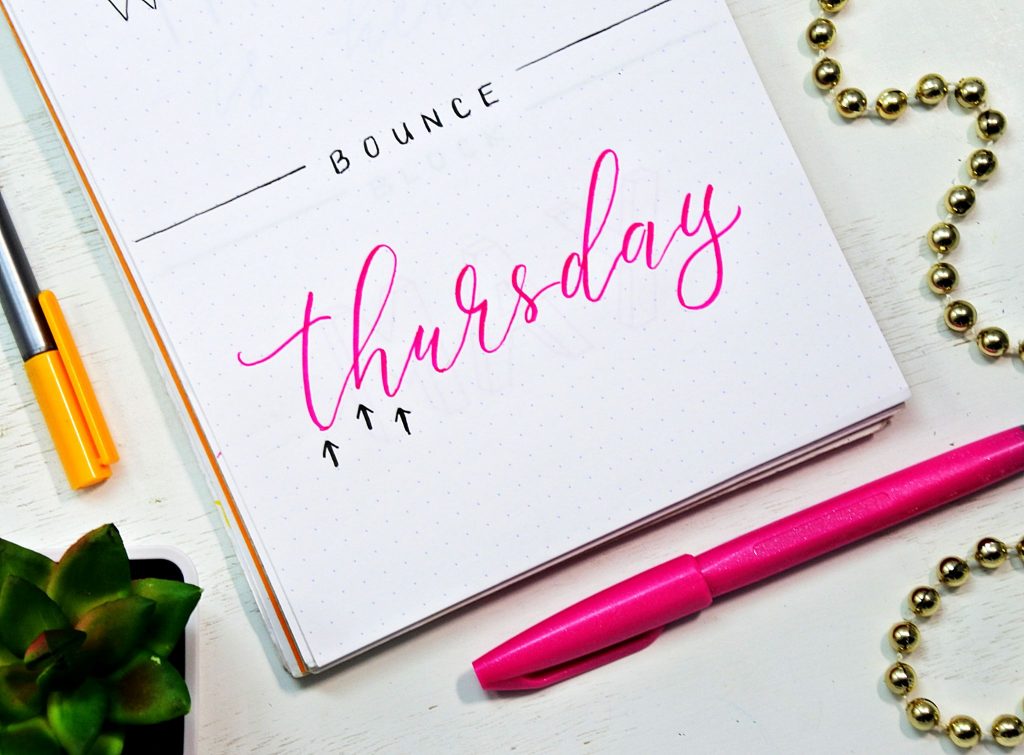
Bounce
Bounce lettering is really easy to get the hang of with a little practice. And once you’ve mastered it adds so much flare to not only your journal but also invites, signs, you name it! If you want to learn bounce lettering I highly suggest you start with a dot grid or lined notebook. You need that guide to create a proper bounce effect.
Step 1 – First of all pick 2 lines on your paper. Make sure you alternate the bottom of each letter up and down on those 2 lines.


6 Comments
Loved ur blog! I teach kids in my free time and often they come with posters to make. Using rulers to get straight lines is often a challenge. Now I can teach them ur idea of using a dot grid????thanks a lot. And for the beautiful font ideas
Pingback: Calligraphy Journal Ideas
Pingback: The Best Bullet Journal Blogs (2020) | Lewis+Louisa
Wow, I love these ideas. Lettering is something I’m really working on using my iPad. This will be really helpful! Thanks so much.
Do you have a Font/lettering book to teach each letter in each style.? I’m a visual person need to see how each one is drawn lol. Thank
I love these fonts and I will totes use these in my bullet journal!